TL;DR (Quick Highlights)
- Build a website for a tutoring business to attract students and grow credibility.
- Keep the design simple, user-friendly, and mobile-friendly.
- Add must-have pages: About, Services, Pricing, Testimonials, and Contact.
- Use SEO to make your website for a tutoring business visible online.
- Tools like Wise, the most advanced Tutor Management Software, can help tutors automate tasks after building their site.
Introduction
Starting to build a website for a tutoring business can feel overwhelming, especially if you’re a tutor who spends most of your time teaching instead of dealing with tech. But a website is your digital classroom; it tells parents and students who you are, what you teach, and why they should trust you.
Think of it like this: if a parent in Chicago is searching online for a math tutor for their 8th grader, a professional-looking tutoring business website could be the deciding factor that makes them pick you over someone else.
This guide will walk you through every step, from planning to publishing, so you can create a site that works for your business.
Why You Need a Website for a Tutoring Business
A website for a tutoring business is more than just an online brochure. It works like your 24/7 office.
- Builds trust with students and parents.
- Makes it easy for people to find your services.
- Helps you stand out from local competition.
- Allows you to share resources, blogs, and student success stories.
For example, a SAT tutoring company in New Jersey uses its site to share free practice quizzes, which keeps students engaged and increases sign-ups.
Many solo tutors and small tutoring businesses believe they don’t need a website. This is a costly misconception. A professional website builds credibility, helps attract the right students, and positions a tutoring business for long-term growth. The video below explains the key advantages of having a website – especially for solo tutors looking to scale.
Steps to Build a Website for a Tutoring Business
The following steps help you build a website for a tutoring business:
Step 1: Define Your Goals for the Tutoring Website
Before jumping into design, ask yourself:
- Do I want to attract new students?
- Do I want to showcase my qualifications?
- Do I want to offer online booking or payments?
Your answers will shape how your site looks and functions.
For instance, a science tutor in Dallas might focus on creating a booking-friendly website so parents can schedule sessions instantly.
Step 2: Choose the Right Domain Name and Hosting
Your domain name is your digital identity. It should be easy to type, remember, and link to your niche.
Tips:
- Use your name if you are a solo tutor: MrSmithMath.com.
- Use subject-focused names if you cover multiple areas: BrightPathTutors.com.
Hosting is where your site lives online. Popular choices include Bluehost, SiteGround, or Hostinger. Pick one with good speed and security.
Step 3: Pick a Website Builder for Tutoring Business
You don’t need coding skills. Website builders like WordPress, Wix, or Squarespace are easy to use.
- WordPress: Great for flexibility and growth.
- Wix: Drag-and-drop builder, good for beginners.
- Squarespace: Stylish designs, good for branding.
For example, a language tutor in Boston built her site on Wix and added booking widgets for instant sign-ups.
Step 4: Design Your Tutoring Business Website
A clean, simple design works best. Parents and students should find information quickly.
Key design tips:
- Keep navigation simple (Home, About, Services, Contact).
- Use light backgrounds with readable fonts.
- Make it mobile-friendly.
Think about this: A cluttered site with too much text can turn visitors away. A clean design builds trust.
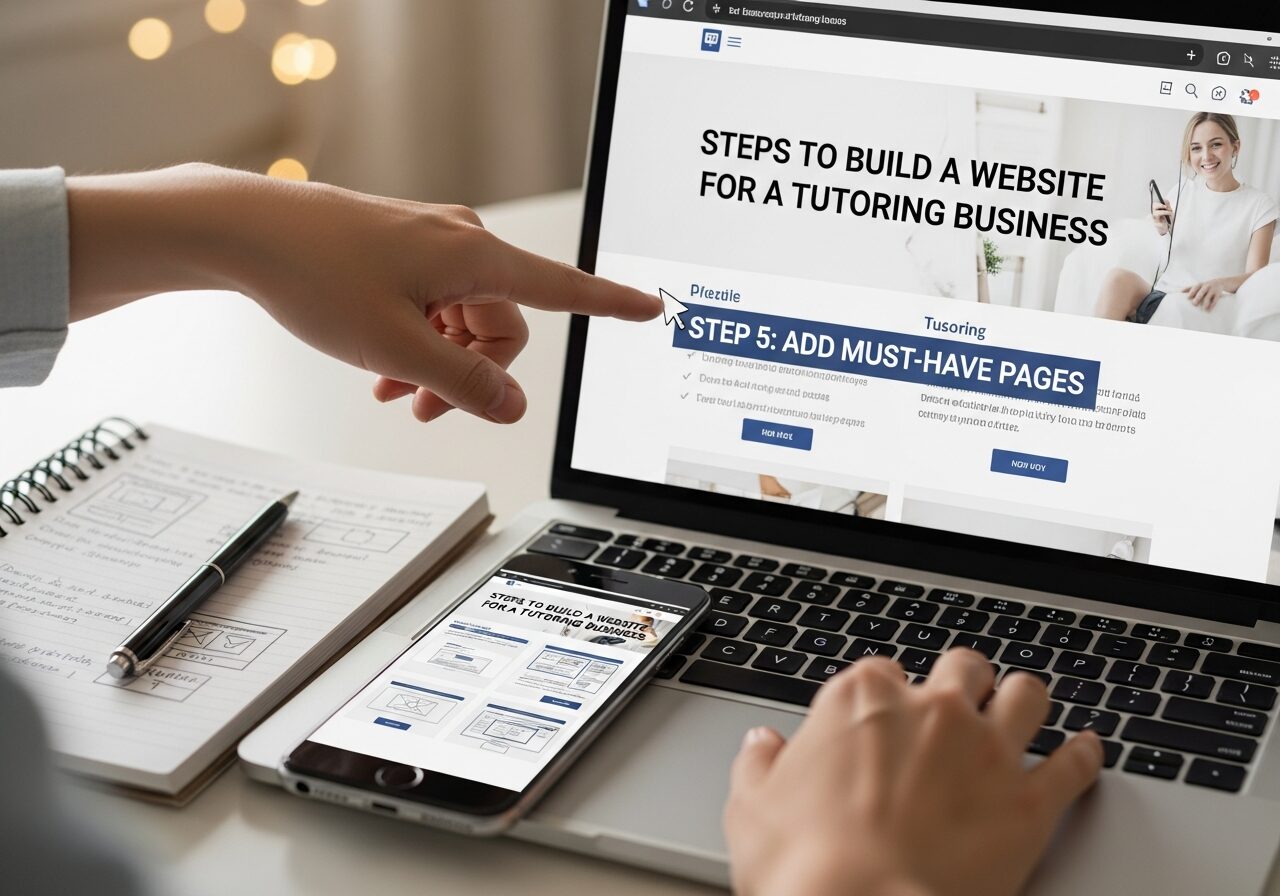
Step 5: Add Must-Have Pages
Every tutoring business website should have these pages:
- Home Page: A welcoming intro with your value statement.
- About Page: Share your story, qualifications, and teaching style.
- Services Page: List subjects, grades, and packages.
- Pricing Page: Be transparent about costs.
- Testimonials Page: Add student or parent reviews.
- Contact Page: Include email, phone, and booking options.
For example, a chemistry tutor in California added a short demo video on her homepage. Parents said it helped them trust her teaching style.
Step 6: Optimise Your Website with SEO
Your site must be easy to find on Google. That’s where SEO (Search Engine Optimisation) comes in.
Tips for SEO:
- Use your primary keyword to build a website for a tutoring business naturally in your content.
- Add your city name with services, like “Math Tutor in Chicago.”
- Use blogs to answer student or parent questions, such as “How to Prepare for ACT in 3 Months.”
Example: A physics tutor in Atlanta saw a 40% increase in inquiries after writing weekly blog posts on exam strategies.
Step 7: Add Booking and Payment Features
Parents prefer quick and easy booking. Tools like Calendly or Acuity can help. If you want to accept payments online, you can integrate PayPal or Stripe.
It saves time for both tutors and parents. Instead of going back and forth with emails, a parent can book a session instantly.
Step 8: Showcase Your Expertise with Content
Adding blogs, videos, and free resources makes your site more than just a profile.
Ideas:
- Share study tips.
- Upload short explainer videos.
- Offer free downloadable worksheets.
For instance, an English tutor in Miami posted weekly grammar quizzes, which brought in steady organic traffic.
Step 9: Connect Your Website with Social Media
Your social media accounts can drive traffic to your site. Add links to your profiles on the header or footer of your site.
Post highlights from your blogs, student achievements, or motivational tips. It builds trust and visibility.
Step 10: Test and Launch Your Website
Before going live, test everything:
- Do all links work?
- Is the site fast on mobile?
- Are forms and booking features working?
A math tutor in Seattle did a test launch with just five parents. Their feedback helped fix small design issues before the full launch.
How Wise Can Help Tutors Manage Their Business After Launch
Once your tutoring website is live, you’ll need to handle scheduling, payments, and student progress. It is where Wise, the most advanced Tutor Management Software, can make a big difference.
With Wise, tutors can:
- Automate scheduling so parents or students can book sessions without back-and-forth emails.
- Send invoices and reminders automatically, saving hours of admin work.
- Keep student notes, assignments, and progress reports in one dashboard.
- Reduce last-minute cancellations with timely reminders.
- Manage multiple students’ schedules with ease.
For example, the language institute AceIT had challenges managing live classes, student attendance, and coordinating across various time zones. By using Wise, AceIT was able to:
- Integrate Zoom so live lessons run directly inside the platform.
- Track attendance automatically in each session to see who participated.
- Centralize communication among instructors, students, and parents.
- Give everyone access via desktop or mobile, making it easier to join lessons and follow progress.
Because of Wise, AceIT’s operations became much smoother. Scheduling became efficient, participation improved, and engagement in courses rose. Tutors spent less time on logistics and more on teaching.
By supporting both automation and scheduling, Wise helps tutors focus less on admin tasks and more on what they love teaching and helping students succeed.
Final Thoughts
Learning how to build a website for a tutoring business is one of the smartest steps tutors can take to grow. It builds credibility, attracts students, and helps you share your teaching style.
Once the site is live, pairing it with tools like Wise, the most advanced tutor scheduling software, ensures smooth scheduling, payments, and student management. That way, you can focus on what matters most: teaching and helping students succeed.
To know more, explore Wise’s expert tutors’ blog section!
FAQs on How to Build a Website for a Tutoring Business
How do I build a website for a tutoring business without coding skills?
You can use website builders like WordPress, Wix, or Squarespace to build a website for a tutoring business. These platforms provide templates and drag-and-drop features, so you don’t need technical skills to get started.
What should I include on my tutoring business website?
A good tutoring business website guide suggests adding pages like Home, About, Services, Pricing, Testimonials, and Contact. You should also include booking and payment options to make it easier for parents and students to reach you.
How much does it cost to build a website for a tutoring business?
The cost depends on hosting, domain, and design tools. On average, you can build a website for a tutoring business for $100-$300 per year if you use platforms like Wix or WordPress. If you hire a developer, costs can be higher.
How can SEO help my tutoring business website?
SEO makes your website for a tutoring business visible on search engines like Google. By adding keywords such as “math tutor in New York” or “online English tutoring,” you can attract more students who are searching for your services.
Can I connect scheduling tools to my tutoring business website?
Yes, you can integrate scheduling tools like Calendly or Acuity. Many tutors also use Wise, the most advanced Tutor Scheduling Software, to sync bookings, automate reminders, and reduce missed sessions after building their site.