Switching scheduling platforms can feel risky. Your bookings, client history, and payment settings are already stored in one system. Many tutoring businesses that outgrow Acuity Scheduling delay the transition because they worry about losing appointment data or disrupting a booking process that parents and students already trust.
That concern is understandable, but migrating to a new platform is often more straightforward than it seems. Acuity Scheduling starts at $16 per month on the Starter plan and goes up to $61 per month on the Premium plan when billed monthly, according to Capterra (2026). However, none of its plans include tutoring-specific features such as tutor payroll, session recordings, attendance tracking, or student progress reports. These limitations are often the reason tutoring businesses begin looking for an Acuity Scheduling migration in the first place.
This guide walks you through the entire migration process, from exporting your data from Acuity Scheduling to selecting a tutoring-focused alternative, mapping your services and tutors, and testing your new setup before canceling your existing subscription.
Why tutoring businesses look to migrate from Acuity Scheduling
Acuity was built as a general-purpose appointment scheduler for salons, consultants, and coaches. It handles one-on-one bookings well. But it was never designed around the specific mechanics of a tutoring business. Things like recurring class packages, tutor payroll calculations, parent-facing progress reports, and session recordings tied to a student profile sit outside its core design.
Tutoring center owners who search for how to migrate from Acuity Scheduling usually cite one of these reasons:
- No native payroll calculation for tutors based on sessions taught
- No built-in student progress reporting for parents
- Limited support for recurring group classes compared to one-on-one bookings
- Extra cost for SMS reminders. These only unlock on the Growing plan at 27 dollars a month annually
- No free plan. A small tutoring center pays from day one after the trial ends, per SchedulingKit (2026)
If your business is scaling past solo tutoring into a multi-tutor operation, the gaps start to add up. Packages, group classes, and parent communication all need a home. A general scheduler starts to feel like a workaround rather than a solution. A platform built specifically for tutor scheduling software removes that friction, since scheduling, attendance, and billing already speak the same language.
What to export from Acuity before you start
Before touching your new platform, pull every piece of data you will need. Acuity allows CSV exports for client records. It does not support exporting packages, gift certificates, or subscriptions. Those need to be tracked manually during the switch.
Here is what to collect and where to find it inside Acuity:
| Data Type | Where to Export in Acuity | Format |
| Client list | Clients tab, Export as CSV | CSV |
| Appointment history | Reports, set date range, Export | CSV |
| Appointment types and services | Business Settings, Appointment Types | Manual screenshot |
| Outstanding packages or gift certificates | Gift Certificates or Packages tab | Manual export |
| Booking page settings and forms | Intake Forms tab | Manual screenshot |
| Payment processor details | Payments tab | Manual note |
Take screenshots of your intake forms and appointment type settings as well. Packages and remaining session credits are not exportable in a usable format. You will need to manually track each client’s remaining balance and re-enter it in the new system during onboarding.
This version has better flow, connecting sentences, and SEO friendly headings while staying concise.
How to migrate from Acuity Scheduling
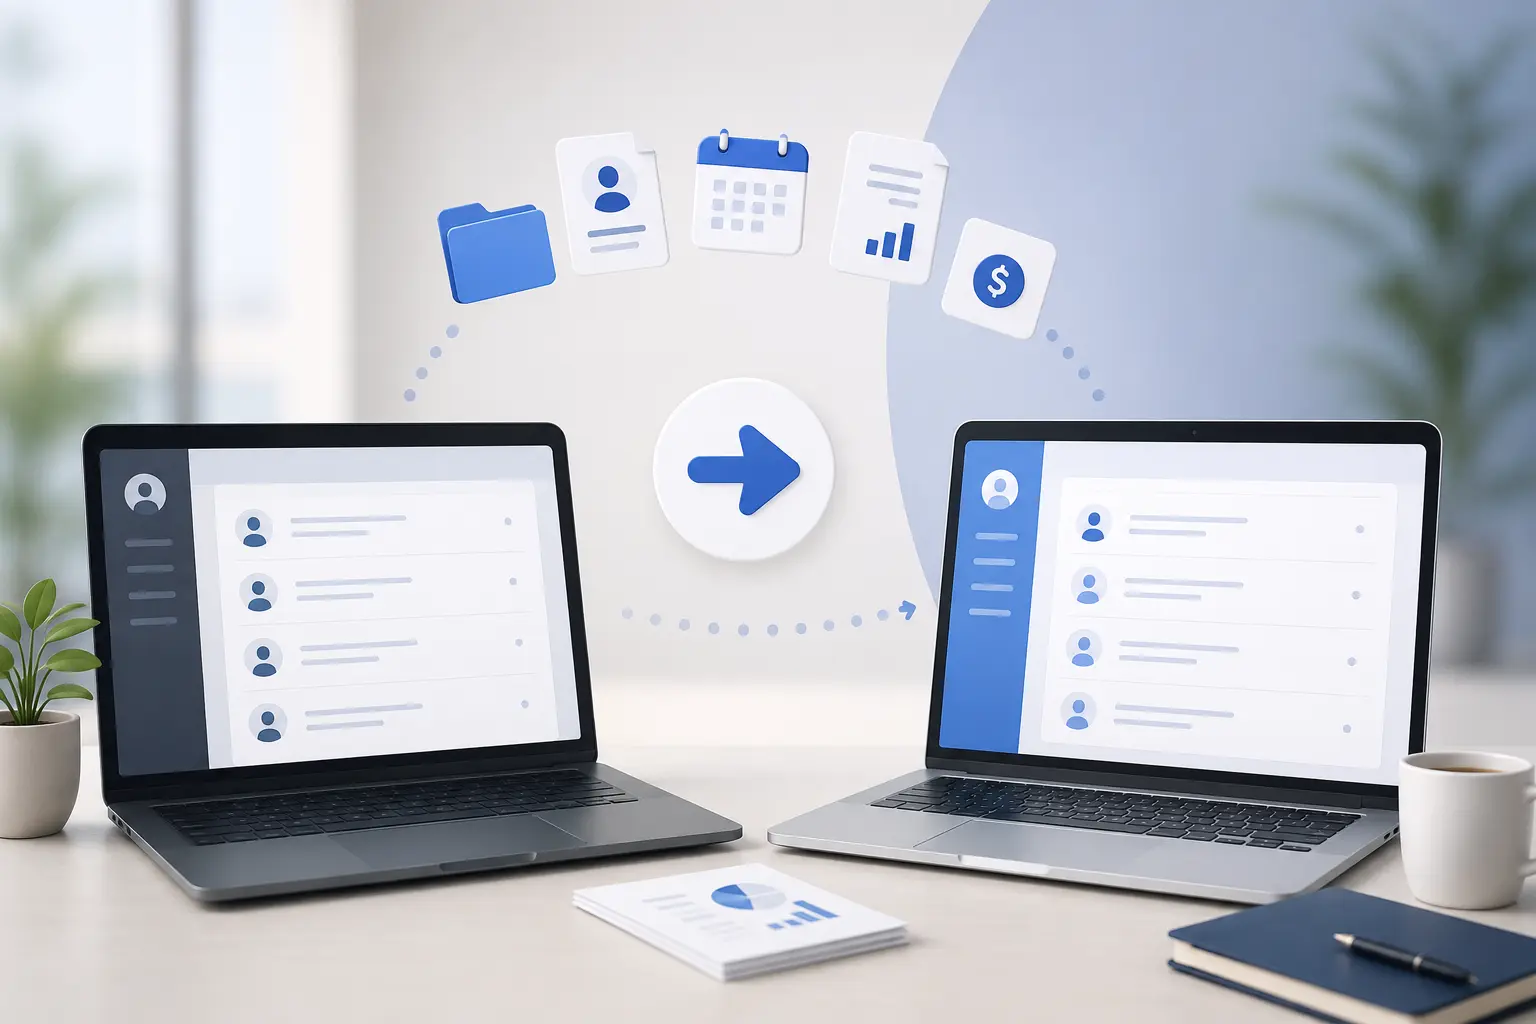
Migrating from Acuity Scheduling does not have to be complicated. By following a structured process, you can move your data, preserve your existing bookings, and minimise disruption for both tutors and students.
Step 1: Export Your Client and Appointment Data
Start by creating a complete backup of your existing data.
Log in to Acuity Scheduling and export your client list as a CSV file from the Clients section. Then, navigate to Reports, select a date range that covers your entire booking history, and export your appointments as a separate CSV file.
Store both files in a secure shared folder so your team can access them throughout the migration.
Step 2: Recreate Your Services and Appointment Types
Once your data is backed up, recreate your services in the new platform.
Match each appointment type with the correct duration, pricing, and booking rules. If you use intake forms or custom questions, recreate those as well.
This is often where tutoring businesses notice the limitations of Acuity Scheduling. It treats every booking as a standard appointment, making it difficult to manage recurring lessons, group classes, or student-specific schedules.
Step 3: Import Your Client Records
With your services in place, import your client database into the new platform.
Most tutoring platforms support CSV imports. Map each field carefully, including names, email addresses, phone numbers, and any custom information. Before importing all records, test a small sample to ensure everything transfers correctly.
Step 4: Transfer Student Packages and Credits
Next, review any prepaid lesson packages, subscriptions, or remaining session credits.
Since most platforms cannot automatically import this information, you will need to recreate these balances manually. Inform students and parents about the migration so they understand that their remaining sessions and credits have been carried over correctly.
Step 5: Connect Your Payment Gateway
After your client data is ready, reconnect your payment provider.
Link Stripe, PayPal, or your preferred payment gateway to the new platform. Then verify that deposits, package pricing, recurring payments, and invoice settings work exactly as expected before accepting new bookings.
Step 6: Update Booking Links Across Your Business
Before launching the new system, replace every Acuity Scheduling booking link.
Update your website, landing pages, email signatures, social media profiles, Google Business Profile, and any automated emails. Missing even one outdated booking link can send students to the wrong scheduling page.
Step 7: Test Everything Before Canceling Acuity
Finally, avoid canceling Acuity immediately.
Run both systems in parallel for one to two weeks and monitor real bookings. During this period, confirm that:
- Appointments sync correctly.
- Payment processing works without issues.
- Reminder emails and notifications are delivered.
- Tutor calendars stay updated.
- Students can book lessons without errors.
Once you are confident that everything is working as expected, you can safely cancel your Acuity Scheduling subscription and complete the migration.
Common Acuity Scheduling Migration mistakes to avoid
Migrating to a new scheduling platform is usually straightforward, but a few common mistakes can lead to lost data, booking issues, and unnecessary disruption. Avoid these pitfalls to ensure a smooth transition.
- Do not cancel Acuity too early. Export your clients, appointments, and historical records before canceling your subscription. Once your account is closed, recovering past data can be difficult or impossible.
- Update every booking link. Replace all Acuity booking links and embedded widgets on your website, landing pages, email signatures, and social profiles. Missing even one link can send clients to the old booking page.
- Inform students and parents about the migration. Send a short email explaining the new booking process, especially if students have prepaid packages or remaining session credits. Clear communication helps prevent confusion and support requests.
- Test reminders before going live. Verify that email and SMS reminders are working correctly. It is better to identify notification issues during testing than after a student misses a scheduled lesson.
- Train your team before the switch. Even if the new platform is easy to use, tutors and administrative staff should understand the updated booking workflow before serving students. A short training session can prevent day-to-day operational issues.
- Check time zone settings carefully. If you teach students across different cities or countries, confirm that lesson times automatically adjust for both tutors and students. Incorrect time zone settings can lead to missed or incorrectly scheduled sessions.
What tutoring businesses gain by moving to a purpose-built platform
General schedulers solve the booking problem. They leave payroll, progress tracking, and parent communication as separate tools you have to stitch together. A platform designed around tutor lesson management software consolidates that into one system. It handles 2 way calendar sync, automated tutor payroll based on sessions taught, recorded sessions tied to each student, and parent-facing progress reports generated automatically after class.
Centers running group classes alongside one-on-one sessions need something more too. Tools built for group tutoring handle attendance and billing differently than a one-size-fits-all scheduler. Group sessions need per-student billing inside a single class slot, not one appointment per booking.
Frequently Asked Questions
How long does an Acuity Scheduling migration take?
Most migrations complete within a few business days for a small to mid-sized tutoring business. Larger centers with multiple locations or hundreds of active packages may need one to two weeks to fully reconcile client balances and test the new system before canceling Acuity.
Can I export my client packages and credits from Acuity?
No. Acuity does not support exporting packages, gift certificates, or subscriptions in an importable format. You will need to manually list remaining balances for each client and re-enter them in your new platform.
Will I lose my appointment history when I migrate from Acuity?
Not if you export it first. Go to Reports, set the date range to cover your full history, and export as a CSV before canceling your Acuity subscription. Once you cancel, historical data access typically ends.
Should I run both platforms at the same time during migration?
Yes. Keep Acuity active for one to two weeks after your new platform is set up so you can test real bookings, payment processing, and reminders before fully switching over and canceling Acuity.
What is the biggest risk in a scheduling software migration?
Missed booking links. If old Acuity embed codes remain on your website or in old emails, clients will keep booking through the outdated system. Audit every page and email template for booking links before you consider the migration complete.