Yes, you can record Google Meet sessions. Google Workspace users with Business Standard, Business Plus, Enterprise, or Education Plus plans can use the built-in recording feature that saves directly to Google Drive. Free account users can record using third-party tools like OBS Studio, Loom, phone screen recorders, or premium software like Camtasia.
TL;DR: Here are 5 simple ways to record Google Meet sessions
- Google Meet’s Built-In Recording: Ideal for Workspace users, saves recordings directly to Google Drive.
- OBS Studio: Free and customizable for high-quality recordings.
- Phone Screen Recorder: Quick and handy for mobile-based lessons.
- Chrome Extensions (e.g., Loom): Lightweight browser-based recording tools.
- Camtasia: Premium software for polished recordings with editing features.
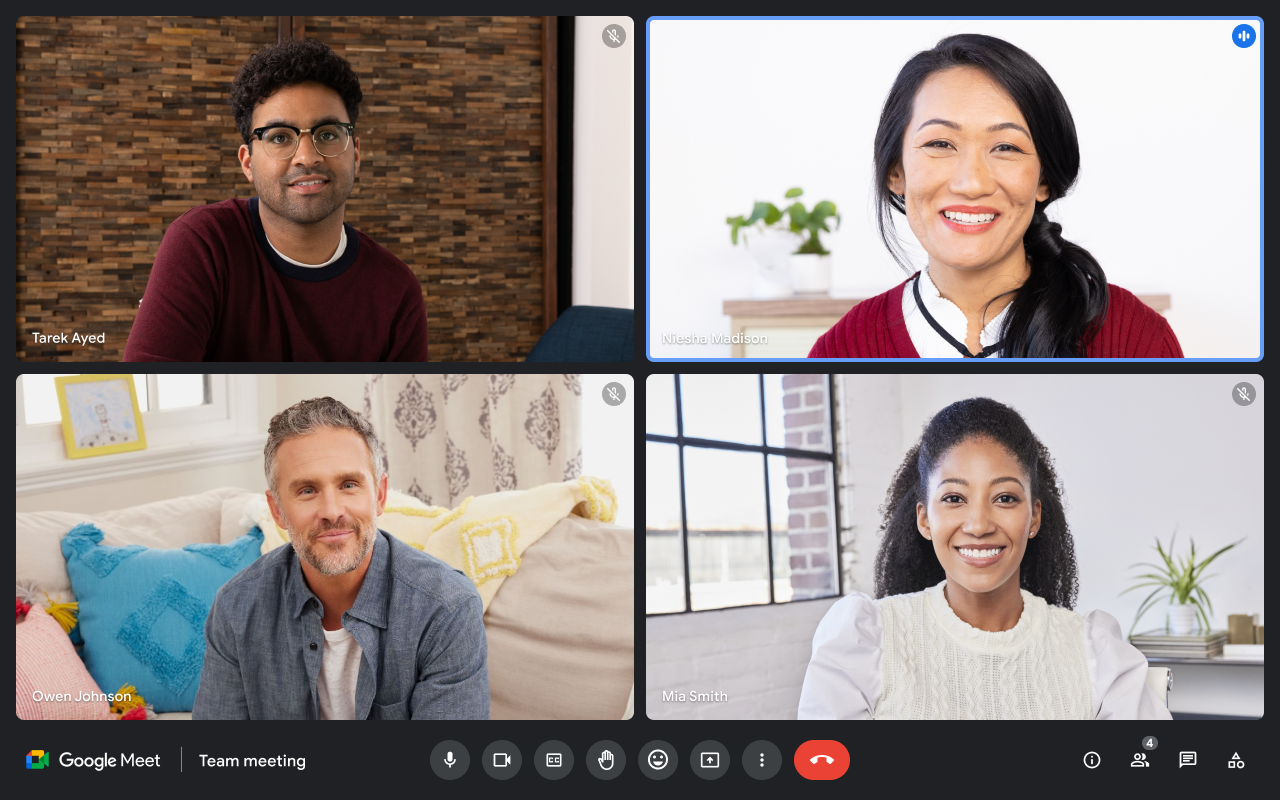
Google Meet is a powerful video conferencing tool. It is a popular virtual classroom software for online education, enabling teachers and students to connect seamlessly in virtual classrooms. It offers high-quality video and audio, making remote learning effective and engaging. Key features include support for large classes with up to 250 participants, integration with Google Workspace for smooth collaboration, and Google Meet recording capabilities that let you save sessions for later access. It integrates with Google Classroom – a free LMS by Google.
Also read: Zoom vs Google Meet: Which is better for online teaching?
Google Meet is one of the most popular tools for virtual classrooms. If you are using Google Meet to teach online – you may be interested to learn about 5 easy ways to automate attendance in google meet sessions.
Why recording sessions is essential for online teaching?
Below are the top 4 reasons why you should record google meet sessions if you are a tutor.
- Helps absent student: Absent students can catch up anytime. This eliminates the need to do extra sessions.
- Review: Helps students revisit and understand complex topics.
- Improvement: Tutors can look back and reflect on their teaching style and delivery. This enables tutors to refine their teaching style.
- Content: Recordings can be turned into future tutorials or materials. They can also be uploaded to YouTube to establish your online presence or made part of a self paced course that can be later sold.
Who Can Record Google Meet? Requirements Explained
Not everyone can use Google Meet’s built-in recording feature. Recording availability depends on your Google account type and organizational settings.
Eligible Google Workspace Plans:
- Business Standard, Business Plus
- Enterprise Essentials, Enterprise Standard, Enterprise Plus, Enterprise Starter
- Education Plus (Staff and Student licenses)
- Teaching and Learning Upgrade
- Workspace Individual Subscriber
- Google One subscribers with 2 TB or more storage
Who Can Start a Recording:
- The meeting host (organizer)
- Co-hosts promoted by the host
- Users from the host’s organization (when Host Management is off)
- Teachers or co-teachers in Google Classroom meetings
Important: Free personal Gmail accounts cannot use Google Meet’s native recording feature. If you have a free account, you’ll need to use one of the third-party methods described below (OBS Studio, Loom, phone recorder, or Camtasia).
Admin Settings: Google Workspace administrators must enable recording permissions in the Admin console for your organizational unit before you can record.
5 simple ways to Record Google Meet sessions:
1. Google Meet’s Built-In Recording Feature: Easiest way but comes only in paid plans.
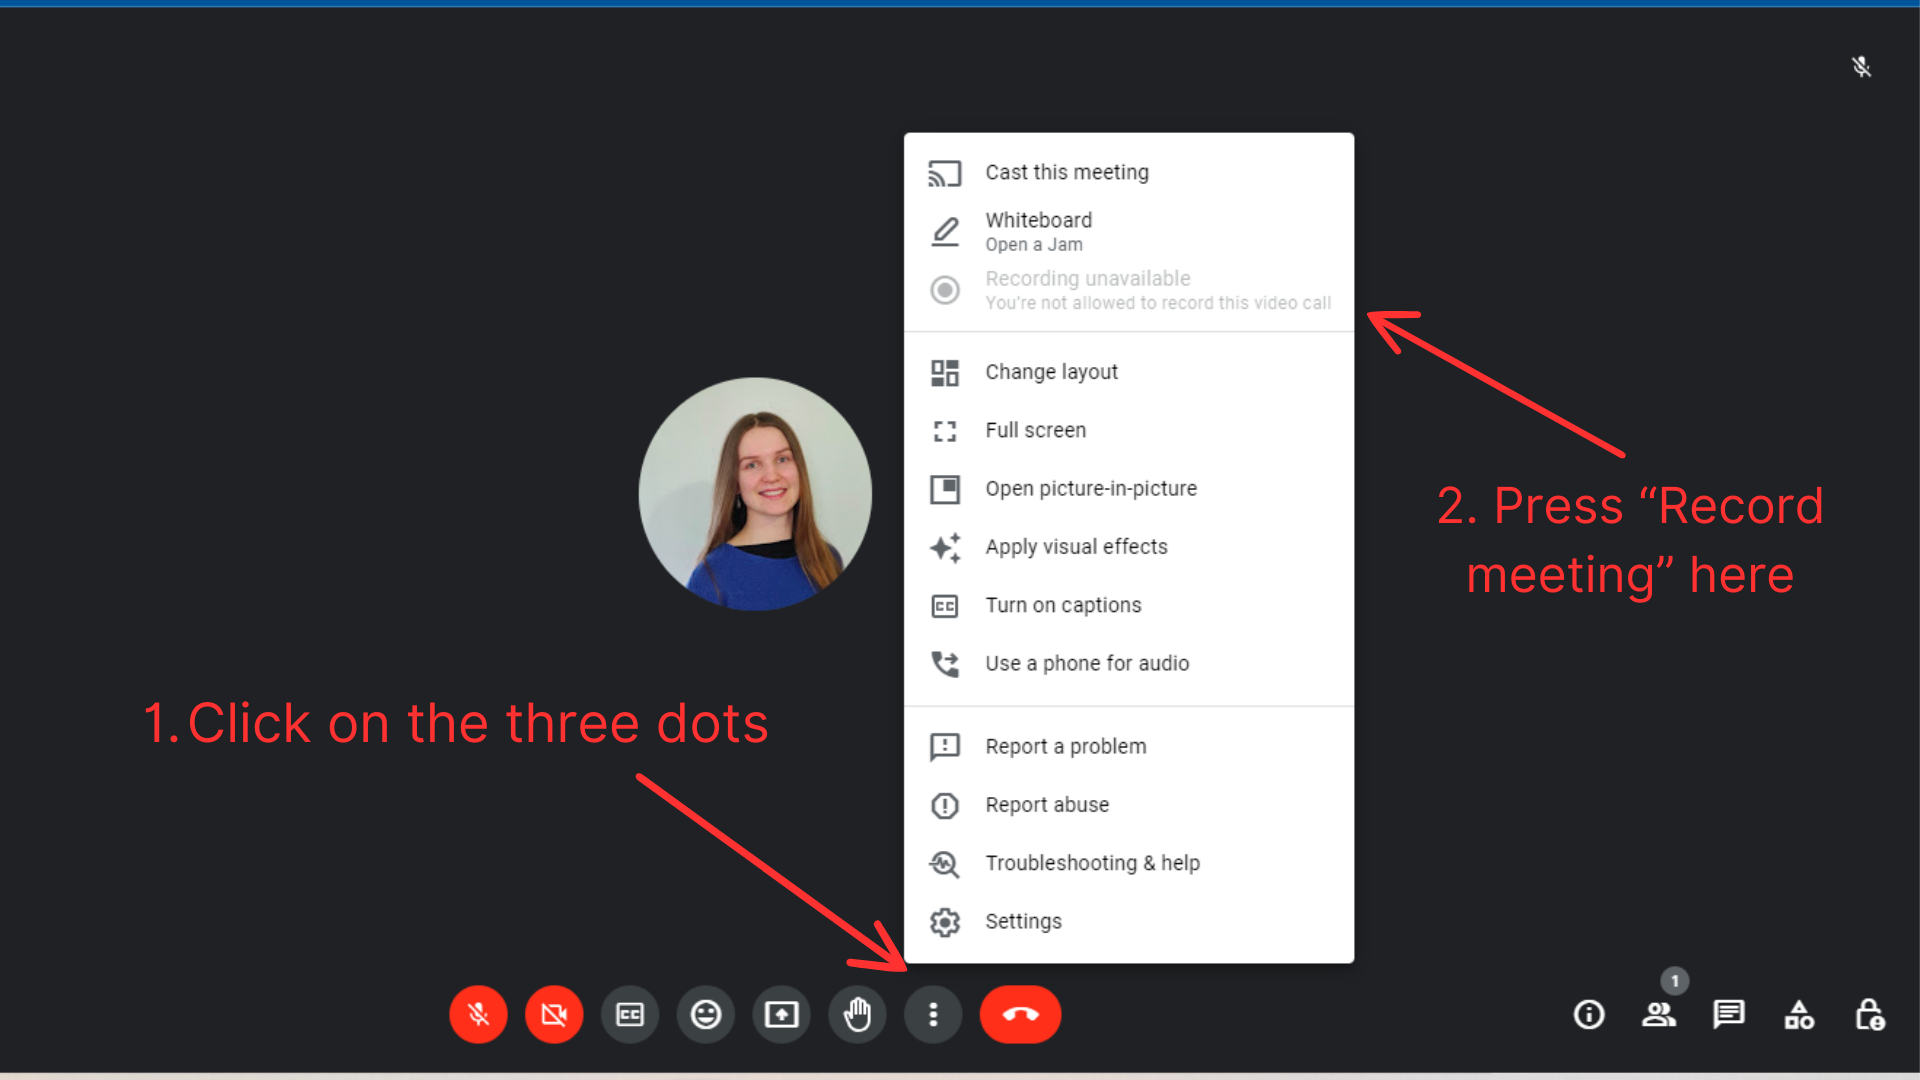
The easiest way to record a session is by using Google Meet’s built-in recording feature. However, this option is available only to paid Google Workspace users with specific plans like Business Standard, Business Plus, or Enterprise.
How to Use It (Step-by-Step):
- Start or join your Google Meet session
- Click the three dots (⋮) in the bottom-right corner of the screen
- Select “Record meeting” from the menu
- A notification will alert all participants that recording has started
- To stop recording, click the three dots again and select “Stop recording”
- The recording is automatically saved to the meeting organizer’s Google Drive in the “Meet Recordings” folder
- You’ll receive an email with a link to the recording once processing is complete (usually within a few hours)
Why It’s Great:
- Seamless and secure as it’s integrated within Google Meet.
- Automatically stored on Google Drive for easy sharing.
- Records in 1080p resolution (up to 1920×1080) for most Workspace plans, ensuring clear video quality.
Where Are Recordings Saved?
Google Meet recordings are automatically saved to the meeting organizer’s Google Drive in a folder called “Meet Recordings.” The organizer receives an email with a direct link to the recording once processing is complete (typically within 24 hours). Recordings are saved as MP4 video files and can be shared with participants by adjusting the file’s sharing permissions in Google Drive.
Limitations:
- Not available for free accounts.
- Recording privileges depend on organizational settings.
For complete details on Google Workspace recording requirements, see Google’s official recording documentation.
2. Use OBS studio for high-quality recordings: Free forever, records from teacher’s perspective.
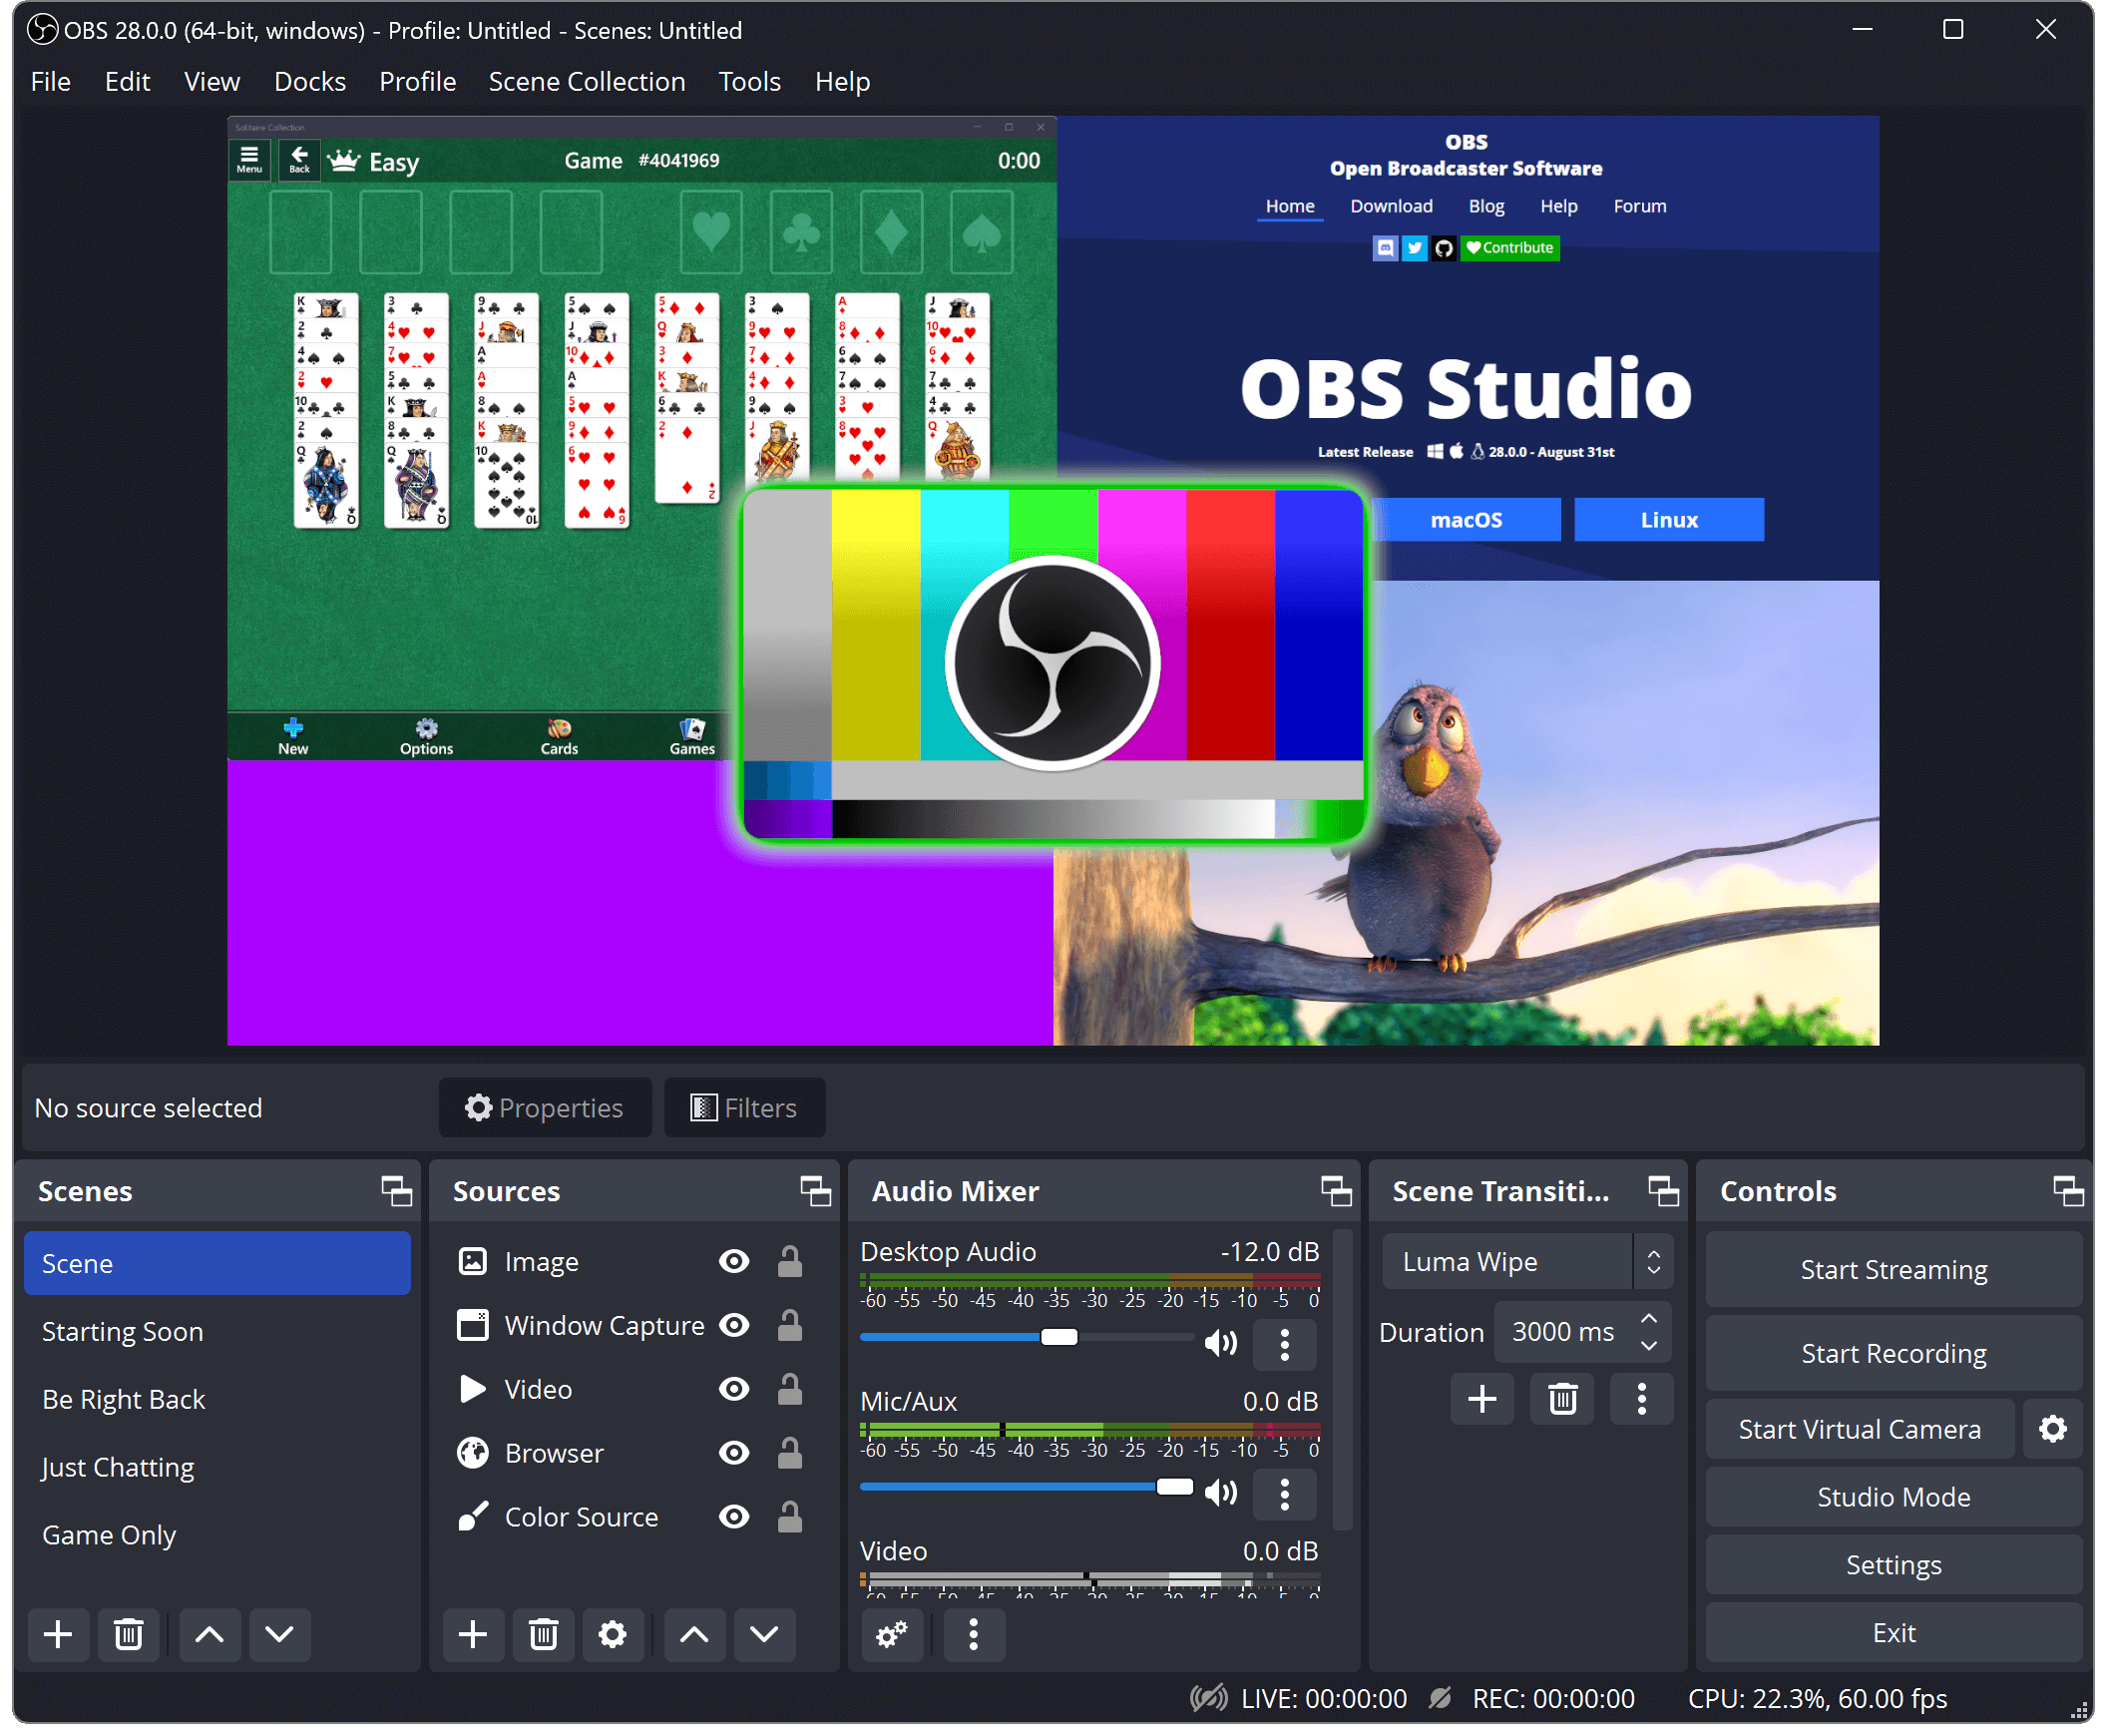
If you want more control over your recordings, OBS Studio is a fantastic and free option. OBS Studio is widely used for screen recording and live streaming, and it works perfectly with Google Meet or any other virtual classroom software.
How to Use It (Step-by-Step):
- Download and install OBS Studio from obsproject.com (free for Windows, Mac, and Linux)
- Open OBS Studio and click the “+” under “Sources”
- Select “Display Capture” (to record your entire screen) or “Window Capture” (to record just your browser)
- Under “Audio Mixer,” ensure both “Desktop Audio” (to capture Google Meet audio) and “Mic/Aux” (to capture your microphone) are enabled and not muted
- Start your Google Meet session in your browser or desktop app
- In OBS, click “Start Recording” in the bottom-right corner
- Once the session ends, click “Stop Recording”
- Find your recording in the default folder (usually Videos folder) or check File > Settings > Output to see your save location
How to Use It (Step-by-Step):
- Download and install OBS Studio from obsproject.com (free for Windows, Mac, and Linux)
- Open OBS Studio and click the “+” under “Sources”
- Select “Display Capture” (to record your entire screen) or “Window Capture” (to record just your browser)
- Under “Audio Mixer,” ensure both “Desktop Audio” (to capture Google Meet audio) and “Mic/Aux” (to capture your microphone) are enabled and not muted
- Start your Google Meet session in your browser or desktop app
- In OBS, click “Start Recording” in the bottom-right corner
- Once the session ends, click “Stop Recording”
- Find your recording in the default folder (usually Videos folder) or check File > Settings > Output to see your save location
Why it’s great:
- It’s free and highly customizable.
- You can record google meet sessions in high resolution.
- You can record Google Meet with audio from both your microphone and system sound.
- It’s perfect for creating professional-quality videos.
Drawbacks:
- Initial setup process can be tricky for beginners.
- Works only on PC. Records to your device, so if the recordings are to be shared you will need to upload to YouTube or Google Drive before sharing.
3. Use your phone’s in-built screen recorder: Free solution for those taking meetings using phone
Conducting a Google Meet session on your phone? Your smartphone’s built-in screen recorder can save the day.
How to use it:
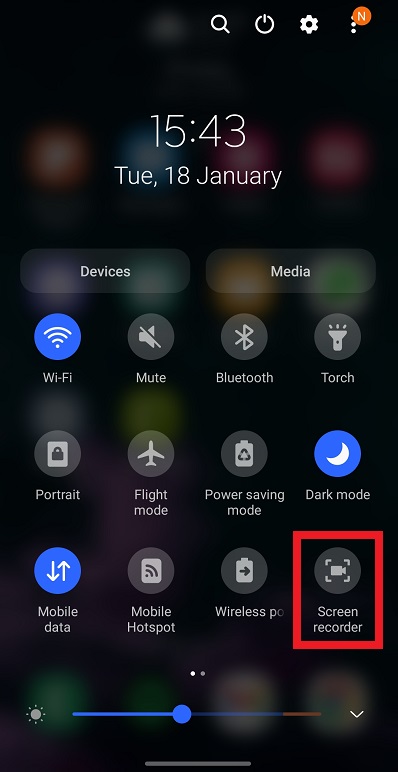
- For Android: Pull down the notification panel and tap “Screen Recorder” (enable it from settings if needed).
- For iOS: Open the Control Center and tap the Screen Recording button.
- Start your Google Meet session, and the recording will capture everything on your screen.
- Tap the screen recorder again to stop, and the file will be saved to your gallery.
Why it’s great:
- Easiest way to record google meet sessions on phone.
- Quick, convenient and free.
- No need to install additional apps.
Keep in Mind:
- Notifications can interfere with the recording, so turn on Do Not Disturb.
- Audio quality might be lower compared to desktop options.
4. Use Loom: Web based third-party solution to simplify recording, also available as a chrome extension.
If you can’t access Google Meet’s built-in recording feature, chrome extensions like Loom are excellent alternatives. These tools are easy to install and allow you to record google meet with just a click.
How to Use It:
- Install a recording extension from the Chrome Web Store.
- Open your Google Meet session in a Chrome tab.
- Click the extension icon and select what you want to record (entire screen, browser tab, or application window).
- Start and stop the recording directly from the extension toolbar.
Why It’s Great:
- Simple to set up and use.
- Many extensions offer features like annotations and editing.
Downside:
- Loom’s free plan limits recordings to 5 minutes per video and includes a small Loom watermark.
- Advanced features like custom branding, video editing, and unlimited recording length require a paid subscription (starting at $12.50/month).
- Some Chrome extensions may not work on certain enterprise Google Meet configurations.
- Loom’s free plan limits recordings to 5 minutes per video and includes a small Loom watermark.
- Advanced features like custom branding, video editing, and unlimited recording length require a paid subscription (starting at $12.50/month).
- Some Chrome extensions may not work on certain enterprise Google Meet configurations.
5. Use Third-party tools for advanced features and analytics on google meet recordings
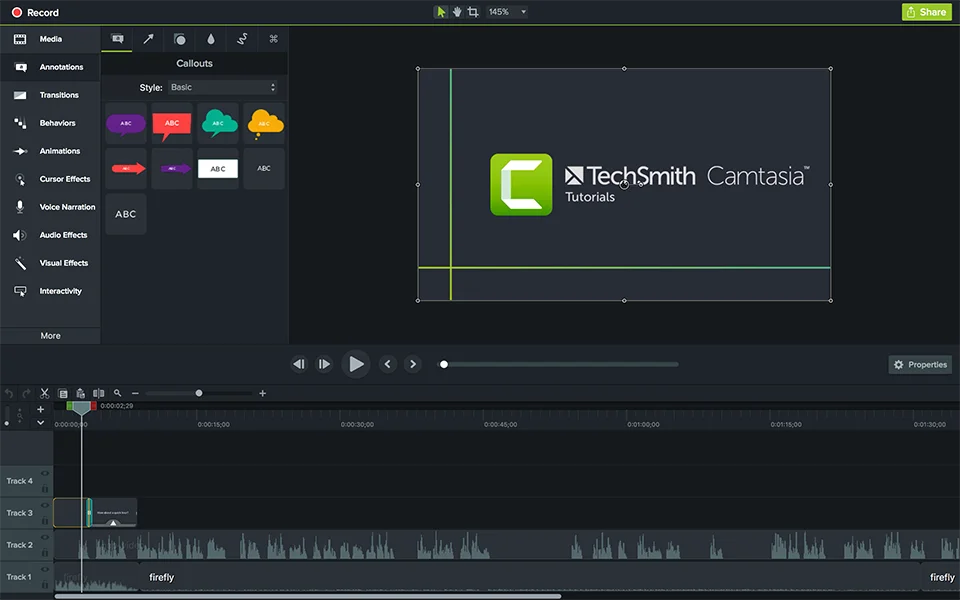
If you need more professional-grade recordings with editing options, third-party tools like Camtasia or Snagit are excellent choices to record google meet sessions.
How to use It:
- Download and install your preferred software.
- Open the tool and select your recording preferences (full screen or specific area).
- Start your Google Meet session and hit record on the software.
- Edit and save the recording after the session ends.
Why It’s great:
- Offers advanced editing capabilities.
- Perfect for creating tutorials or webinars.
Challenges:
- Expensive compared to free tools.
- Requires installation and setup.
This blog has highlighted several easy and cost-effective ways to record Google Meet sessions. This underscores the importance of integrating this practice into your online teaching routine. If you haven’t started recording your sessions yet, now is the perfect time to begin.
As your tutoring business scales, exploring automated ways to record a Google Meet call becomes increasingly essential. To streamline your workflow and enhance the learning experience, consider investing in an LMS for tutoring or tutor management software that can automate recordings and facilitate seamless sharing with your students. By doing so, you not only save time but also ensure that all learners have access to valuable content whenever they need it.
You may want to read
Troubleshooting Common Google Meet Recording Issues
If you’re having trouble recording your Google Meet sessions, here are solutions to the most common problems:
“Record meeting” option is missing or grayed out:
- Verify you have a paid Google Workspace account (Business Standard or higher). Free personal Google accounts cannot use the built-in recorder.
- Check that you are the meeting host or have been assigned co-host permissions.
- Ask your Google Workspace administrator to enable recording permissions for your organizational unit in the Admin console.
Recording failed or didn’t save:
- Ensure you have sufficient Google Drive storage space. Recordings can be 1-3 GB per hour.
- Check that the recording ran for at least 30 seconds – very short recordings may not save.
- Wait up to 24 hours for processing; recordings aren’t instantly available.
Participants can’t see or access the recording:
- Recordings are saved to the organizer’s Google Drive. Share the file link directly or adjust sharing permissions in Drive.
- External participants (outside your organization) need explicit sharing access to view recordings.
Audio or video quality is poor:
- Close unnecessary browser tabs and applications to free up system resources.
- Use a wired internet connection instead of Wi-Fi when possible.
- For better quality, consider third-party tools like OBS Studio that offer higher resolution settings.
Frequently asked Questions (FAQs)
1. How can I record a Google Meet session for free?
You can record Google Meet sessions for free using tools like OBS Studio, Loom, or your phone’s screen recorder. These alternatives work well for users without Google Workspace.
2. Where are Google Meet recordings saved?
When using Google Meet’s built-in recording, the video is automatically saved to the meeting organizer’s Google Drive in the “Meet Recordings” folder.
3. Can Google Meet sessions be recorded without permission?
No. Google Meet notifies all participants when a recording starts. Always seek consent before recording to comply with privacy and data protection rules.
4. What is the best tool to record Google Meet sessions for teachers?
For teachers, Google Meet’s built-in recorder (Google Workspace) and OBS Studio are the best options. They offer high-quality recordings suitable for online classes and tutorials.
5. How can tutors share Google Meet recordings with students?
Tutors can share recordings directly from Google Drive, YouTube, or their LMS or tutor management software to give students easy access to recorded lessons.
6. What is an example of a good tutoring software integrated with Google Meet?
Google Classroom is a free and basic tutoring software that comes integrated with Google Meet. However, for professional tutoring services using Google Meet and looking for Google classroom alternatives, Wise is the best option. Wise offers automation, tutor scheduling, and recording features tailored for tutoring businesses.
7. How long does it take for Google Meet recordings to appear in Google Drive?
Recordings typically appear in Google Drive within a few hours after the meeting ends, but processing can take up to 24 hours for longer sessions. You’ll receive an email notification with a link to the recording once it’s ready. If the recording doesn’t appear after 24 hours, check that the meeting ran for at least 30 seconds and that you have sufficient Google Drive storage space.
8. Can I edit Google Meet recordings after they’re saved?
Yes. Google Meet recordings are saved as MP4 files in Google Drive, which you can download and edit using video editing software like Camtasia, Adobe Premiere, iMovie, or free tools like DaVinci Resolve. For basic trimming, you can use Google Drive’s built-in video preview to note timestamps, then edit the downloaded file. Third-party tools like OBS Studio and Camtasia offer built-in editing features for immediate post-recording edits.